

Today was all about fenders. And any day spent with fenders is bound to be a pain. Indeed, even though I had pre-shaped these fenders, drilled all the holes, bent the stays, etc., it took a long time just to install them. (Getting the eyebolts centred was the main thing.) But they are now on—and they not only do they fit well around the wheel, but they look incredible colour-wise.
The first thing I did was put on the reinforcer for the rear fender, which Noah was kind enough to prime and paint. Here it is from the inside...
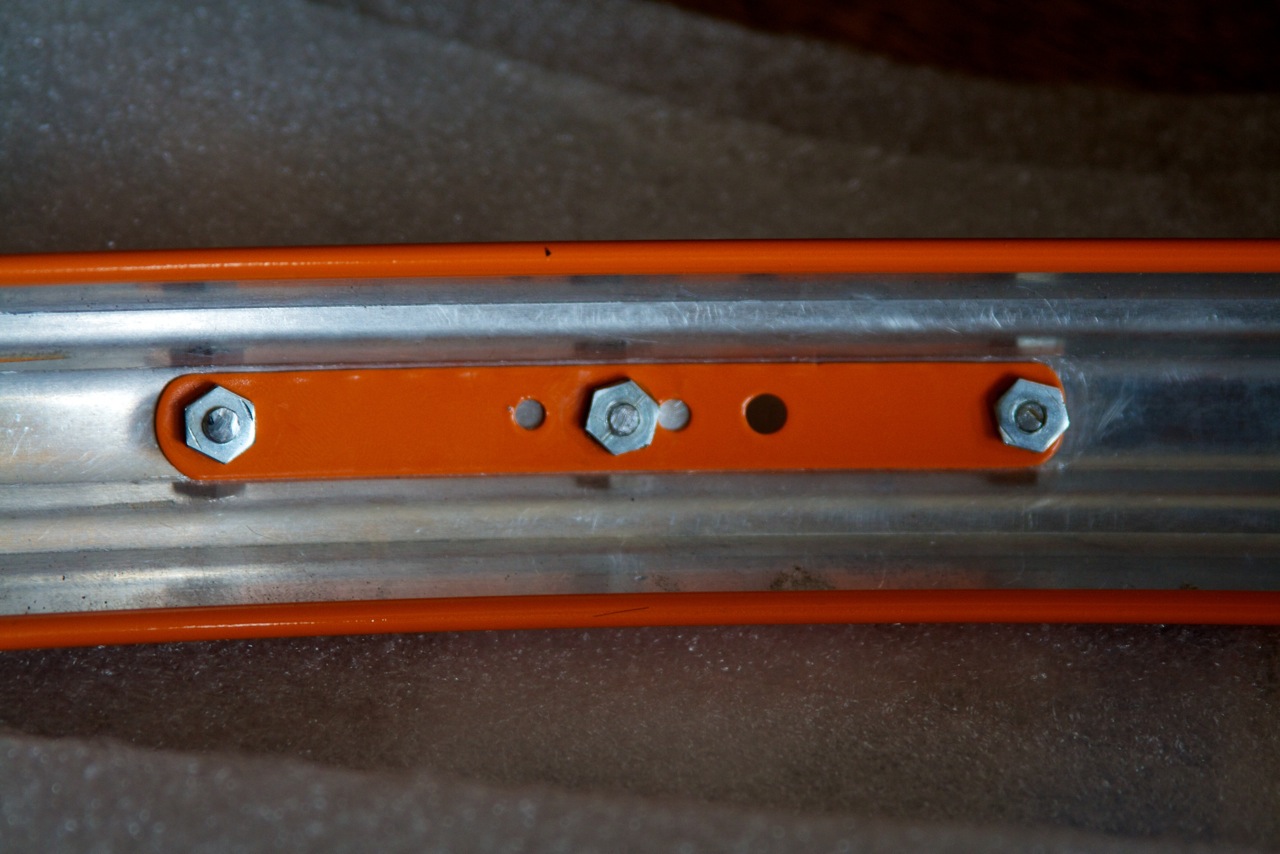
From the outside...

And on the bike.


Finally: I took some flak for insisting that Noah paint my cable guide orange, but this photo FULLY justifies my insistence!

Tomorrow I'll set up the brakes, install the bottom bracket and cranks, set up the drivetrain, etc. It should be more or less done by tomorrow night...
6 comments:
Adam, I am impressed with your patience in the assembly of this beautiful bicycle. I wouldn't be able to show restraint and would likely be up until the wee hours of the morning putting it together. As well, I am surprised to see that Noah took the time to mask off the underside of the fenders from over-spray. The Columbus logo nicely adds to the over the top look of the bicycle too. Looking forward to seeing the completed build.
http://cgi.ebay.com/Simplex-retro-friction-gear-levers-Red-/190526753506?pt=Cycling_Parts_Accessories&hash=item2c5c478ae2
Hi Haffa, thanks for your comments! Yes, it's hard to be patient, but very necessary -- I don't want to screw anything up. Fenders especially require zen-like patience. My patience has already been tested again this morning by the fact that my SKF bottom bracket is interfering a bit with my TA crank arm. Deep breath. I'll leave it on for photos, in any case! And yes: I too was surprised by the masking of the fenders! He's a pro!
Those shifters are amazing! But my silver ones look right in context. Perhaps for another bike...
Tell us about the fenders. Are they for show or go? If the latter, will you put on a mud flap? I've yet to find a front fender, Honjo or other, that provides enough protection for one's feet during actual wet conditions without a mudflap. But the aesthete-rando crowd--those who post pics on the web--appear to like their bikes sans flap! What's your take on this most utilitarian of wet weather accessories? I suspect that those without flaps don't actually ride in the rain. So why fenders?
On that point, will you have to deflate your rear tire to mount the wheel in the dropouts? Why not vertical dropouts?
Look closely and you will see a rubber front fender flap. This bike is for riding. See upcoming artistic statement. Of course there's riding and there's riding. I'm not one of those hard types who take masochistic pleasure in riding in the rain or seek it out. The fenders are there to keep my drivetrain clean and to keep my dry during unexpected showers. This is also not a randonneur bike, but a "fast bike" for the kind of riding I do most often: 100kmish rides on a mix of dirt roads and pavement.
I used horizontal dropouts because I originally wanted to use a Huret Jubilee derailleur and wanted to be able to control chain gap. I went so far as to move the derailleur hanger back (search the site for photos). But while it reduced the chain gap, the hanger was too "high", and I couldn't shift on to a cog bigger than 19T. So I'm using a Chorus derailleur. I did reshape the dropouts to allow for fully inflated tire insertion, though the thickness of the paint seems to have messed with my plans.
Post a Comment